Autopapyrus · SsangYong Kyron 2.0 XDi (2010)
https://autopapyrus.com/guides/ssangyong/kyron/front-brake-rotor-replacement/
https://autopapyrus.com/guides/ssangyong/kyron/front-brake-rotor-replacement/
Compiled automatically from service literature and owner experience. Specs are for the typical configuration — check them against your exact car before you start.
SsangYong Kyron 2.0 XDi (2010): Front Brake Rotor Replacement
The front brake rotors on a Kyron with the 2.0 XDi (D20DT) diesel engine should be replaced when they wear below the minimum thickness (usually 22-24 mm for new 280x26 mm rotors) or when they have runout or cracks. The procedure requires removing the caliper and the caliper bracket. The rotor is held on by two Phillips-head screws. Be sure to bleed the brakes after reassembly.
Parts
4| № | Part | Alternatives |
|---|---|---|
| 01 | Front ventilated brake rotors2 pcs, left and right | |
| 02 | Front brake padsrecommended to replace at the same time | TRW, Brembo |
| 03 | Brake cleaner spray | CRC Brakleen |
| 04 | Copper anti-squeal grease | Permatex |
Tools
10- jack
- jack stands
- lug wrench
- 17 mm and 19 mm sockets
- ratchet handle
- torque wrench
- copper grease
- DOT 4 brake fluid
- rubber mallet
- wire brush
 There's a full repair manual for this car
Every system, wiring diagrams and torque specs — not just this job. Haynes AutoFix (online).
See manuals →
Step by step
35 steps · 5 phasesPhase 1 PREPARATION 4 steps
- Park the vehicle on a level, solid surface and set the parking brake.
- Loosen the front wheel lug bolts half a turn (do not remove them completely).
- Raise the front of the vehicle with the jack and place jack stands under the rocker panels or the frame.
- Remove the front wheel completely by removing all the lug bolts.
Phase 2 REMOVING THE CALIPER AND OLD ROTOR 8 steps
- Open the hood and find the brake fluid reservoir. Loosen the cap (do not remove it) to relieve pressure.
- Remove the two caliper guide bolts from the rear (17 mm socket, tightening torque during assembly 80-100 N·m (59-74 lb-ft)).
- Remove the caliper together with the pads and hang it from the suspension spring with a piece of wire. Do NOT let it hang by the brake hose.
- Remove the old pads from the caliper and note the position of the anti-squeal shims.
- Remove the two bolts holding the caliper bracket to the steering knuckle (19 mm socket, tightening torque during assembly 100-120 N·m (74-89 lb-ft)).
- Remove the caliper bracket and set it aside.
- Remove the two screws holding the rotor to the hub (Phillips screwdriver or T30 bit; they may be seized, so apply penetrating oil such as WD-40 10 minutes before starting).
- Remove the old rotor from the hub. If it is stuck, tap the back side of the rotor edge lightly with a rubber mallet.
Phase 3 PREPARING AND INSTALLING THE NEW ROTOR 5 steps
- Clean the hub mounting surface with a wire brush to remove rust and dirt.
- Treat the hub with brake cleaner and wipe it dry.
- Place the new rotor on the hub and line up the screw holes.
- Tighten the two rotor retaining screws in a crisscross pattern (torque 8-12 N·m (6-9 lb-ft); do not overtighten, since the threads are in the hub).
- Spray both sides of the new rotor with brake cleaner to remove the factory protective coating.
Phase 4 INSTALLING THE CALIPER AND NEW PADS 8 steps
- Install the caliper bracket on the steering knuckle and start the two bolts by hand.
- Tighten the bracket bolts to 100-120 N·m (74-89 lb-ft) in a crisscross pattern (a torque wrench is mandatory).
- Lubricate the caliper guide pins with silicone grease (if the rubber boots are intact).
- Push the caliper piston back in, using an old pad and a C-clamp or an adjustable wrench (the piston should end up flush).
- Apply a thin layer of copper grease to the metal back of the new pads (NOT to the friction surface).
- Install the new pads in the caliper together with the anti-squeal shims (inner pad on the piston side, outer pad on the guide pin side).
- Place the caliper onto the bracket and start the two guide bolts by hand.
- Tighten the caliper guide bolts to 80-100 N·m (59-74 lb-ft).
Phase 5 REASSEMBLY AND CHECK 10 steps
- Install the wheel on the hub and start all the lug bolts by hand.
- Lower the vehicle off the jack stands until the tire touches the ground (the weight is still partly on the jack).
- Tighten the lug bolts in a crisscross pattern to 100-120 N·m (74-89 lb-ft).
- Lower the jack completely.
- Repeat the procedure for the other front wheel (brake rotors are replaced in PAIRS).
- Sit in the driver's seat and press the brake pedal firmly to the floor several times (5-7 times) so the pistons bring the pads up against the rotors.
- Check the brake fluid level in the reservoir and top up with DOT 4 to the MAX mark if needed.
- Close the reservoir cap tightly.
- Take a test drive at low speed (up to 30 km/h (19 mph)) and check braking performance.
- Avoid hard braking for the first 200-300 km (125-185 miles) while the new pads bed in to the rotors.
Common mistakes and warnings
- New rotors and pads need a break-in period
- For the first 300 km (185 miles), avoid emergency braking and long mountain descents
- If the brake pedal sinks to the floor or feels soft after reassembly, the brake system must be bled (there is air in the lines)
- The tightening torque of the bracket and caliper bolts is critical for safety, so use a torque wrench
- If you have no experience working on brake systems, take the vehicle to a repair shop
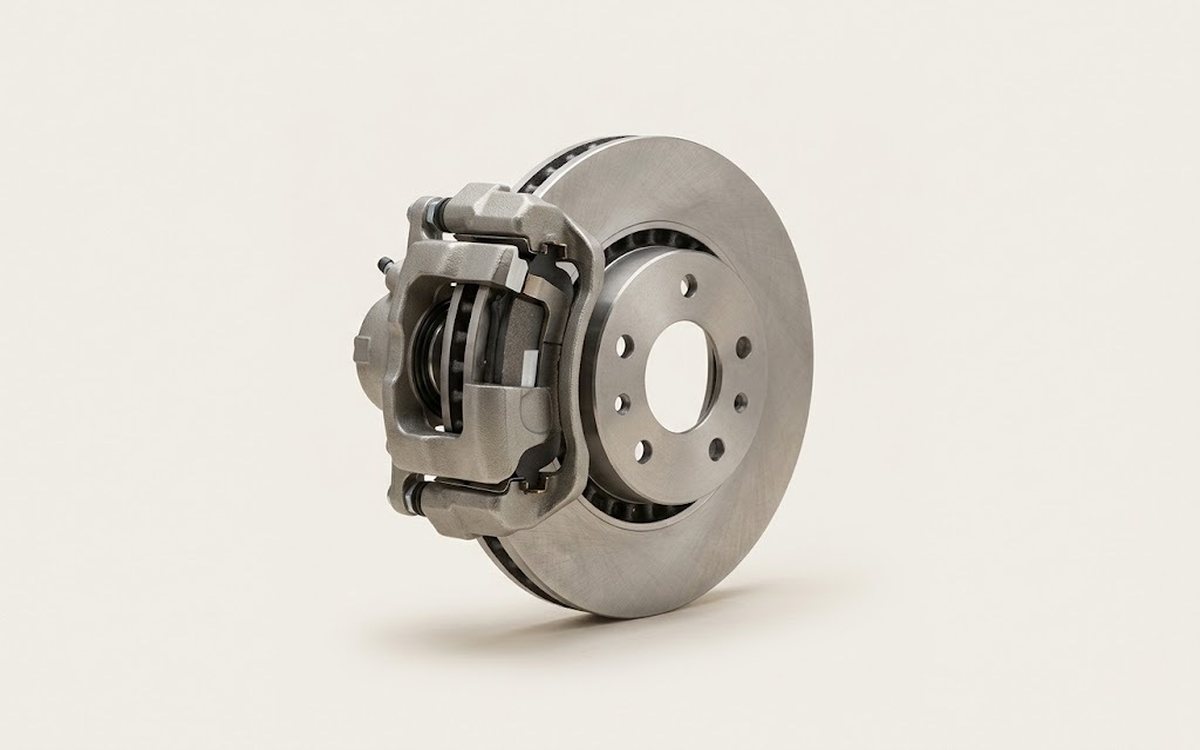 How it works · 3D
How Car Brakes Work
How the part you're working on actually works — in plain English, on a 3D model.
Open in 3D →