Autopapyrus · Lada Granta 1.6 8V 87 hp (2015)
https://autopapyrus.com/guides/lada/granta/front-brake-pad-replacement/
https://autopapyrus.com/guides/lada/granta/front-brake-pad-replacement/
Compiled automatically from service literature and owner experience. Specs are for the typical configuration — check them against your exact car before you start.
Lada Granta 1.6 8V 87 hp (2015): Front Brake Pad Replacement
The front brakes on the first-generation Granta 1.6 8V (2011-2018) are replaced every 30-40 thousand km or when the pad thickness is less than 2 mm. The job can be done in a home garage with basic tools.
Parts
2| № | Part | Alternatives |
|---|---|---|
| 01 | Front brake pad set Lada | Ferodo, ATE |
| 02 | Caliper guide pinsif seized |
Tools
7- jack
- jack stands
- 13 mm wrench
- 10 mm wrench
- screwdriver
- grease for guide pins
- container for old brake fluid
Step by step
15 steps- Park the car on level ground, apply the parking brake, and place wheel chocks under the rear wheels.
- Loosen the front wheel nuts (17 mm wrench), then raise the car with a jack under the side member. Place jack stands under the car. Remove the wheel.
- Remove the two bolts securing the brake caliper to the steering knuckle (13 mm wrench). Upper and lower bolts.
- Swing the caliper upward and hang it from a wire or bungee cord so it does not hang by the brake hose.
- Remove the old pads. They may fall out on their own, or pry them out with a screwdriver.
- Remove the metal guide plates (anti-squeal shims), if present.
- Clean the pad carrier (caliper guide pins) with a dry brush. Lubricate the guide pins with special brake grease (not WD-40, only brake grease).
- Install the new anti-squeal shims on the new pads.
- Place the new pads in the caliper: first the upper one, then the lower one.
- Lower the caliper, insert the two mounting bolts, and tighten them with a 13 mm wrench (tightening torque 20-25 N·m (15-18 lb-ft); verify in the manufacturer's service manual).
- Install the wheel and tighten the nuts by hand.
- Lower the car and tighten the wheel nuts with a 17 mm wrench in a crisscross pattern.
- Repeat the procedure for the other front wheel.
- Sit in the car and press the brake pedal several times until it has a normal feel. Check the pedal free play.
- Drive slowly for 50-100 m and test the brakes at low speeds.
Common mistakes and warnings
- Do not let moisture or dirt get on the disc surface during the work
- If the guide pins are seized with rust, soak them with WD-40 for 15-20 minutes and try to work them back and forth, then clean and lubricate them
- For the first 50-100 km after replacement, the pedal may feel softer than usual
- This is normal as the pads bed in to the disc
- Do not drive aggressively for the first 200 km
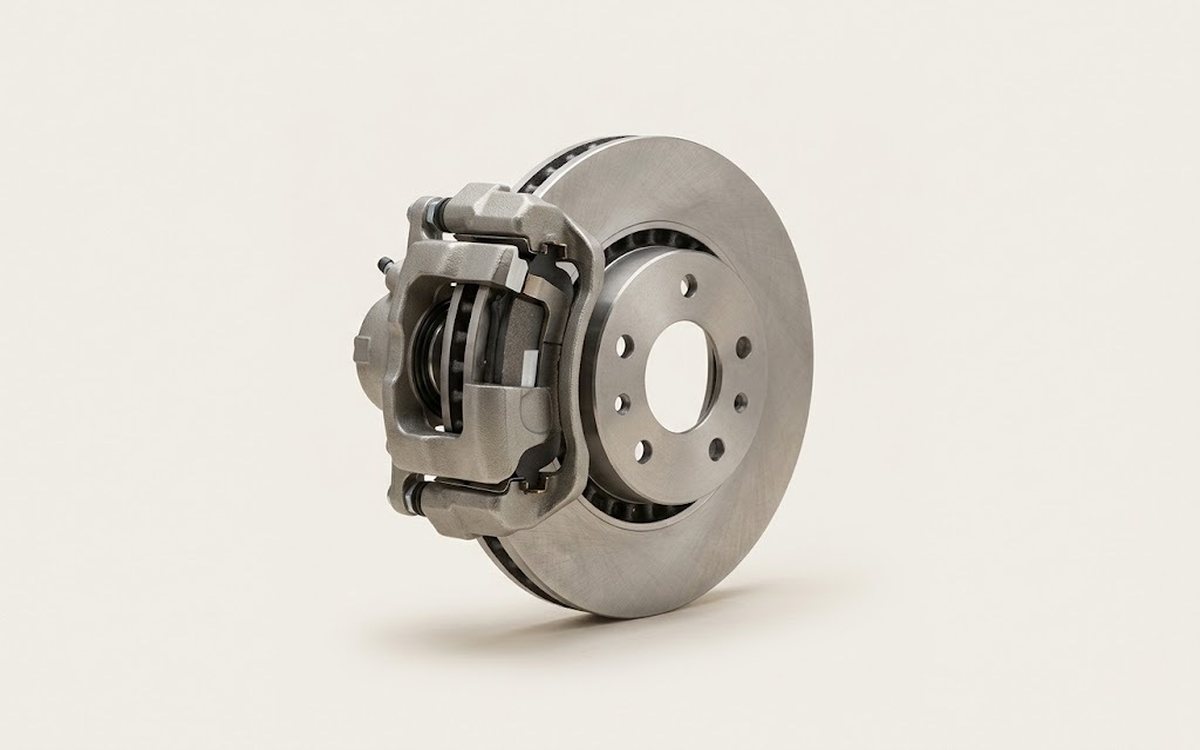 How it works · 3D
How Car Brakes Work
How the part you're working on actually works — in plain English, on a 3D model.
Open in 3D →