Autopapyrus · Toyota Camry 2.5 A25A-FKS (XV70, 2018)
https://autopapyrus.com/guides/toyota/camry/front-brake-pad-replacement/
https://autopapyrus.com/guides/toyota/camry/front-brake-pad-replacement/
Compiled automatically from service literature and owner experience. Specs are for the typical configuration — check them against your exact car before you start.
Toyota Camry 2.5 A25A-FKS (XV70, 2018): Front Brake Pad Replacement
On the XV70 Camry (2012-2017) and 2018+, the brake pads are replaced every 40,000-60,000 km (25,000-37,000 miles) depending on driving style. The front caliper is a single-piston, horizontal-mount design located above the rotor. The procedure is standard and can be done in a home garage.
Part
| № | Part | Alternatives |
|---|---|---|
| 01 | Toyota front brake padsset for one axle | Brembo, Bosch |
Tools
6- jack
- jack stands
- 14 mm and 17 mm wrenches
- flat screwdriver
- syringe or bulb for brake bleeding (if needed)
- caliper piston grease
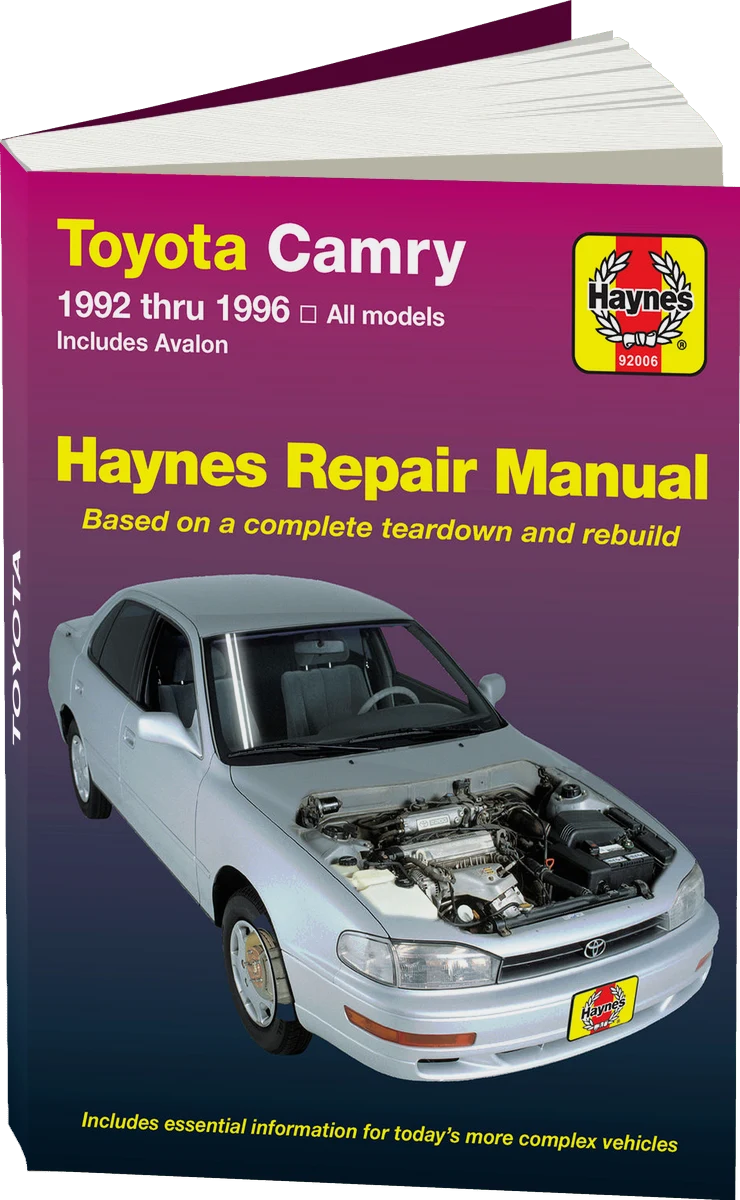 There's a full repair manual for this car
Every system, wiring diagrams and torque specs — not just this job. Haynes and 5 more.
See manuals →
Step by step
15 steps- Park the car on level ground and loosen the wheel nuts (do not remove them). Raise the front of the car with a jack under the frame rails and set the jack stands.
- Remove both front wheels.
- Inspect the caliper. Two mounting bolts (upper and lower) sit behind the rotor and thread into the knuckle. Loosen both bolts with a 17 mm wrench.
- Lift the caliper upward (it pivots like a door on the upper bolt) and carefully move it aside. Secure it to the strut with wire or cord. Do not let it hang from the brake hose.
- Remove the old pads. They simply sit in the slots of the caliper and bracket (the metal plate).
- Visually inspect the rotor. If it has pitting or grooves, or if it is thinner than 27 mm, replace it (original thickness is 32 mm). Wipe the rotor with a rag to remove rust and dust.
- Piston position: if the piston has extended a lot (worn pads), you need to push it back in a little using a plastic or wooden pad. Use a vise or a C-clamp, slowly and carefully, and do not put pressure on the hose.
- Lubricate the bracket guides (the two side rails where the pads slide) with special caliper grease. Do NOT use WD-40 or oil. They wash away and the effect fades.
- Install the new pads in the bracket: the outer one (closer to the wheel) first, then the inner one. They should seat freely.
- Lower the caliper back into place and check that the outer pad contacts the rotor without large gaps. Tighten both bolts, upper and lower. Tightening torque is 25-30 N·m (18-22 lb-ft), or follow the Toyota specification. Check the exact value in the Toyota service manual.
- Repeat the procedure for the other front wheel.
- Install both wheels and tighten the nuts in a crisscross pattern. Lower the car, then tighten the nuts fully (torque 100-110 N·m (74-81 lb-ft)).
- Bleed the brakes: with the car parked, press the pedal several times until it feels firm. If the pedal is soft, there is air in the system. Use a bulb bleeder (two hoses, one to the reservoir and one to the bleeder valve), or the classic two-person method (pedal plus bleeder valve at the wheel, starting with the rear right).
- Check the brake fluid level in the reservoir. It should be between MIN and MAX.
- Test the brakes. Drive slowly back and forth and press the pedal. There should be no spongy pedal feel, unusual noises, or vibration.
Common mistakes and warnings
- Do not use pads from other manufacturers without checking compatibility
- The XV70 Camry is sensitive to pad geometry (the caliper fit is tight)
- If the brake pedal feels soft after replacement or takes a long time to recover, there is air in the system, so bleed the brakes
- If the pedal is firm but the car brakes poorly, check the rotor
- It may be worn and need replacement or resurfacing
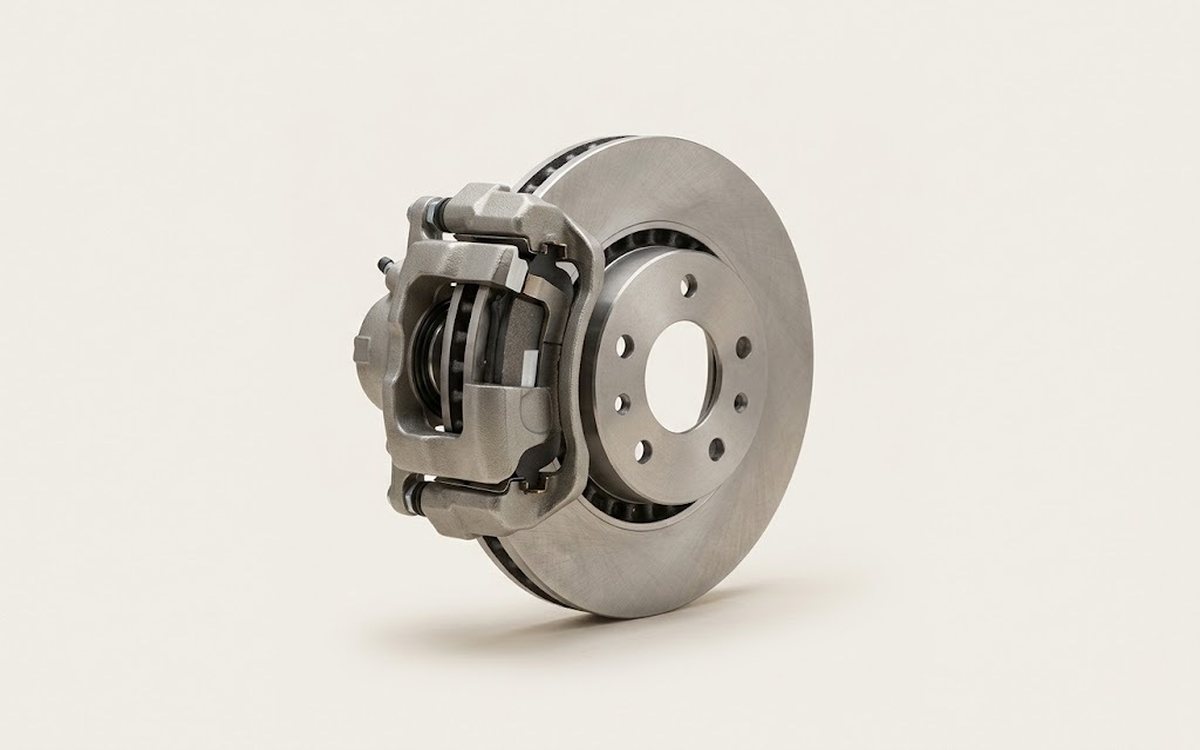 How it works · 3D
How Car Brakes Work
How the part you're working on actually works — in plain English, on a 3D model.
Open in 3D →