Autopapyrus · Toyota Camry XV70 2.5 A25A-FKS (2018)
https://autopapyrus.com/guides/toyota/camry/brake-fluid-replacement/
https://autopapyrus.com/guides/toyota/camry/brake-fluid-replacement/
Compiled automatically from service literature and owner experience. Specs are for the typical configuration — check them against your exact car before you start.
Toyota Camry XV70 2.5 A25A-FKS (2018): Brake Fluid Replacement
On the Camry XV70, brake fluid should be replaced every 2 years regardless of mileage, or sooner if it darkens. The procedure involves bleeding the entire system to remove air and moisture. Bleed the brakes in the following order: rear right → rear left → front right → front left.
Part
| № | Part | Alternatives |
|---|---|---|
| 01 | Toyota DOT 4 Brake Fluid1 L (1.06 qt) | Bosch, Jurid DOT 4 |
Tools
6- 8-10 mm wrenches
- syringe or brake bleeding kit (spray)
- container for old fluid
- rags
- DOT 4 brake fluid (2 L (2.1 qt))
- compressor or helper
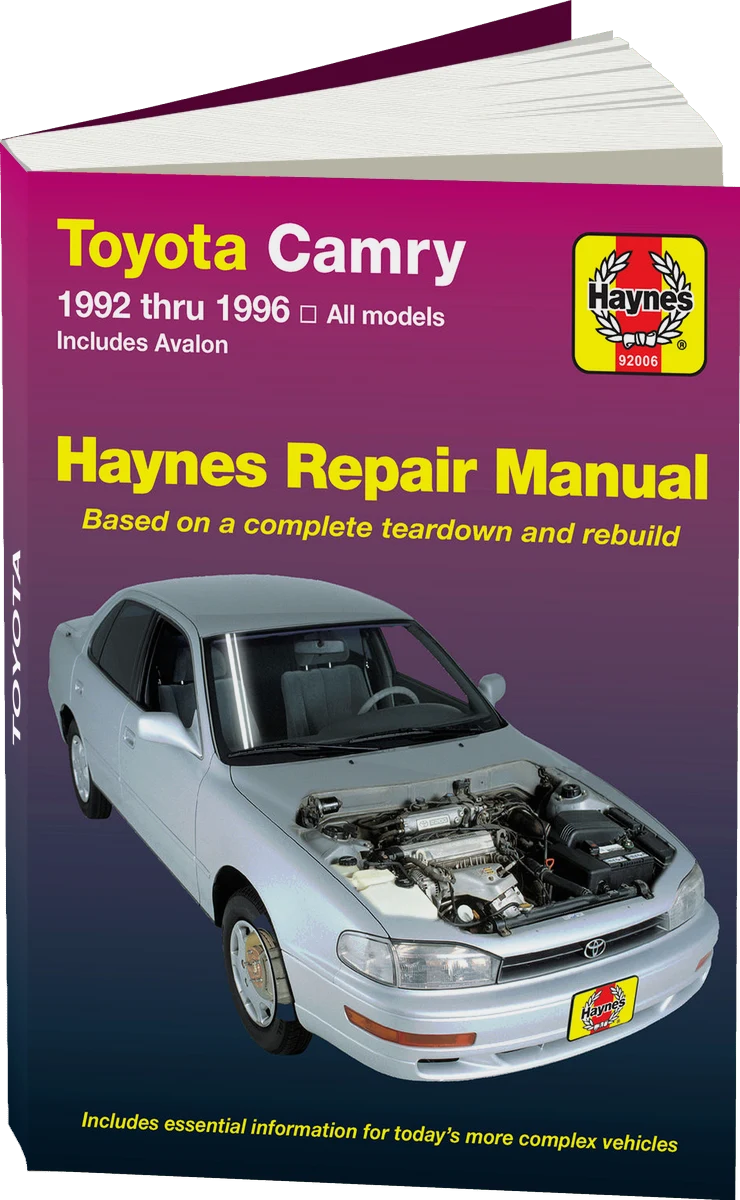 There's a full repair manual for this car
Every system, wiring diagrams and torque specs — not just this job. Haynes and 5 more.
See manuals →
Step by step
14 steps- Park the car on level ground and engage the parking brake.
- Open the hood and find the brake fluid reservoir at the left corner of the engine compartment (black plastic container). Open the cap.
- Suction out or drain as much old fluid from the reservoir as possible (you can use a turkey baster or a 20 ml syringe).
- Top up the reservoir with new DOT 4 fluid to the MAX mark.
- Raise the rear right wheel (if working alone, use the parking brake plus a wheel chock under a front wheel). Remove the wheel with a 17 mm wrench.
- Find the bleeder screw on the caliper (a small valve with an 8 mm hex). Fit a clear tube onto the bleeder and put the other end into a container.
- Ask a helper to press the brake pedal smoothly 5-6 times, pausing 1-2 seconds between presses. On the last press, they should hold the pedal down.
- Open the bleeder valve 1-2 turns so fluid starts to flow through the tube. When the flow stops, close the valve and tell the helper to release the pedal.
- Repeat the cycle (pedal presses + bleeding) until no more air bubbles come out of the tube and the fluid runs clear (usually 3-5 cycles).
- Close the valve, remove the tube, and reinstall the wheel.
- Repeat the procedure for the rear left, front right and front left calipers (the sequence is important).
- After bleeding all the calipers, check the fluid level in the reservoir and top up to the MAX mark.
- Close the reservoir cap and press the brake pedal several times with the car stationary. It should feel firm, with no sponginess.
- Take a test drive at low speed in a safe place (parking lot, quiet street) and make sure the brakes work normally.
Common mistakes and warnings
- Brake fluid is hygroscopic (absorbs moisture) and toxic
- Avoid contact with skin and eyes
- Do not mix DOT 3 and DOT 4
- Use only DOT 4 that meets Toyota specifications
- If the pedal stays soft after bleeding, there may be air in the master cylinder or micro-cracks in the brake lines, so take the car to a repair shop
- Do not drive the car with a soft brake pedal
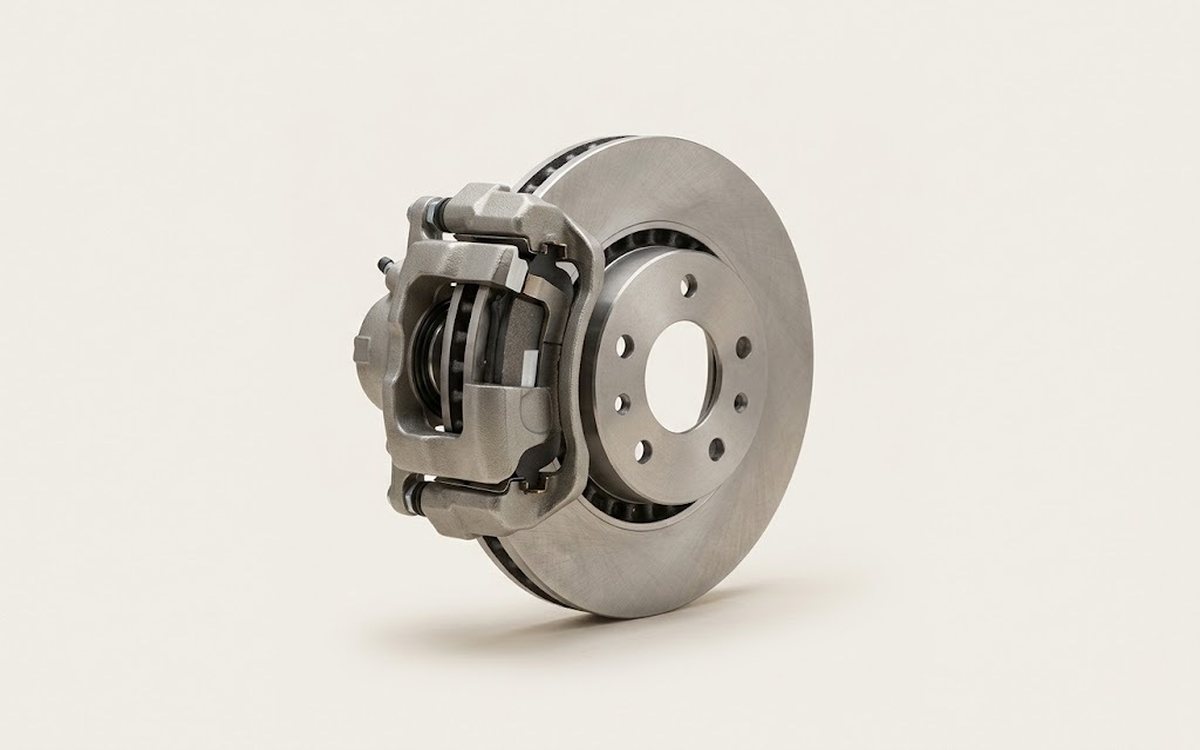 How it works · 3D
How Car Brakes Work
How the part you're working on actually works — in plain English, on a 3D model.
Open in 3D →