Autopapyrus · Kia Ceed I (ED)
https://autopapyrus.com/guides/kia/ceed/brake-fluid-replacement/
https://autopapyrus.com/guides/kia/ceed/brake-fluid-replacement/
Compiled automatically from service literature and owner experience. Specs are for the typical configuration — check them against your exact car before you start.
Kia Ceed I (ED): Brake Fluid Replacement
Brake fluid on the Kia Ceed should be replaced every 2 years or 40,000-50,000 km. The fluid is hygroscopic and absorbs moisture over time, which lowers its boiling point and reduces braking performance. On ABS-equipped cars, keep a close eye on the fluid level to avoid getting air into the hydraulic unit.
Parts
2| № | Part | Alternatives |
|---|---|---|
| 01 | Brake fluid DOT 4 FMVSS 1161 L (1.06 qt) | Bosch DOT 4, Liqui Moly DOT 4, Castrol DOT 4 |
| 02 | Brake caliper bleeder screwif worn |
Tools
6- 10 mm wrench (bleeder screws)
- fluid extraction syringe
- clear PVC hose 6-8 mm
- drain container
- jack
- lug wrench
 There's a full repair manual for this car
Every system, wiring diagrams and torque specs — not just this job. Haynes AutoFix (online).
See manuals →
Step by step
11 steps- Park the car on a level surface. Remove the wheels or otherwise make sure you can reach the bleeder screw on each caliper.
- Unscrew the master cylinder reservoir cap and use the syringe to remove all the old fluid down to the bottom.
- Fill the reservoir with new DOT 4 fluid up to the MAX mark.
- Slip the clear hose onto the bleeder screw of the rear right wheel. Put the other end in a container with a small amount of fluid in it.
- Have a helper press the brake pedal 3-4 times and hold it down.
- Open the bleeder screw half a turn with the 10 mm wrench. Fluid will flow into the container. Tighten the screw fully, then have the helper release the pedal.
- Repeat steps 5-6 until clean, light-colored fluid with no air bubbles comes out of the bleeder screw.
- Top up the reservoir to MAX. Check the level after bleeding each wheel, because it is critical not to let the reservoir run low and draw in air.
- Repeat the procedure in this order: front left, rear left, front right.
- Check the reservoir level and tighten the cap. Pump the brake pedal 10-15 times. It should feel firm and should not sink to the floor.
- Install the wheels and tighten the lug bolts to the specified torque.
Common mistakes and warnings
- Brake fluid damages paint
- If it gets on the body, rinse it off with water immediately
- Keep dirt out of the master cylinder reservoir
- Bleeder screws are fragile, so use minimal tightening torque (5-7 N·m (3.7-5.2 lb-ft)) and avoid stripping the threads
- On cars with an ABS unit, bleeding may take 5-6 cycles at each wheel
- To remove all the air from the hydraulic unit, a diagnostic scanner with an ABS pump activation function is recommended (for example, the dealer GDS tool or similar software)
- However, manual bleeding using the sequence above is also effective if done carefully
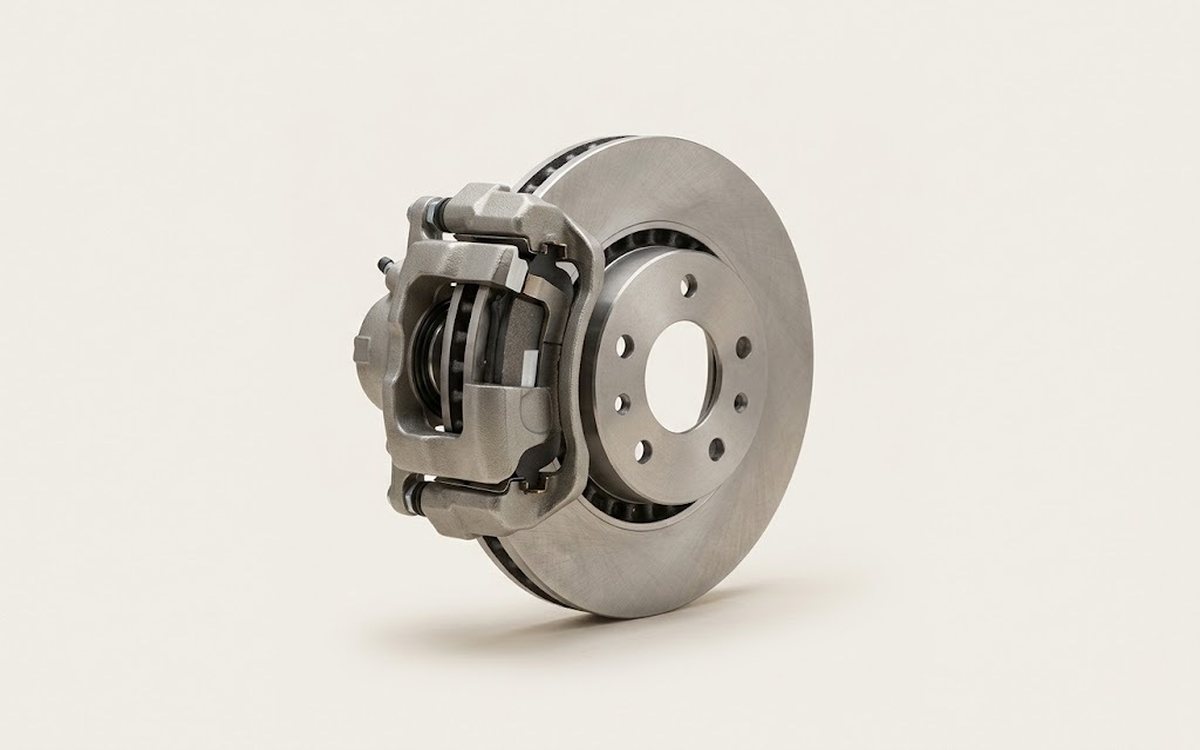 How it works · 3D
How Car Brakes Work
How the part you're working on actually works — in plain English, on a 3D model.
Open in 3D →