Autopapyrus · Renault Grand Scenic (1st generation)
https://autopapyrus.com/guides/renault/grand-scenic/front-brake-pad-replacement/
https://autopapyrus.com/guides/renault/grand-scenic/front-brake-pad-replacement/
Compiled automatically from service literature and owner experience. Specs are for the typical configuration — check them against your exact car before you start.
Renault Grand Scenic (1st generation): Front Brake Pad Replacement
The front brake pads on the 1st-generation Grand Scenic should be replaced every 30,000-40,000 km or when the remaining thickness is less than 3 mm. The procedure is simple and does not require removing the brake caliper completely.
Part
| № | Part | Alternatives |
|---|---|---|
| 01 | Front brake pads Renault | TRW |
Tools
7- jack
- 19 mm lug wrench
- 13 mm socket
- 7 mm hex key
- pry bar or large flat-blade screwdriver
- wire brush
- copper grease
Step by step
14 steps- Open the hood and loosen the brake fluid reservoir cap (do not remove it completely, just loosen it).
- Secure the vehicle with wheel chocks and loosen the lug bolts with a 19 mm wrench.
- Raise the front of the vehicle with a jack, place it on jack stands, and remove the wheel.
- Clean the caliper hardware with a wire brush and treat it with WD-40 if necessary.
- Remove one lower guide pin with a 7 mm hex key (leave the upper one in place).
- Swing the caliper upward and secure it with wire to the shock absorber spring.
- Remove the old pads from the caliper bracket and inspect the brake disc for wear and deep scoring.
- Push the caliper piston back into its cylinder using a pry bar or large screwdriver (gradually, without jerking).
- Clean the pad seats in the bracket with a wire brush and apply a thin layer of copper grease.
- Install the new pads in the bracket, lower the caliper back into place, and tighten the guide pin to 30-32 N·m (22-24 lb-ft).
- Install the wheel and tighten the bolts in a crisscross pattern to 105 N·m (77 lb-ft).
- Repeat the procedure for the other wheel.
- Tighten the brake fluid reservoir cap and pump the brake pedal 5-7 times until it feels firm.
- Check the brake fluid level in the reservoir and top up to the MAX mark if necessary.
Common mistakes and warnings
- Always replace pads in sets on both sides of the axle
- For the first 200-300 km, avoid hard braking so the pads can bed in properly
- If the brake disc thickness is less than 22 mm or there are deep grooves, replace the discs together with the pads
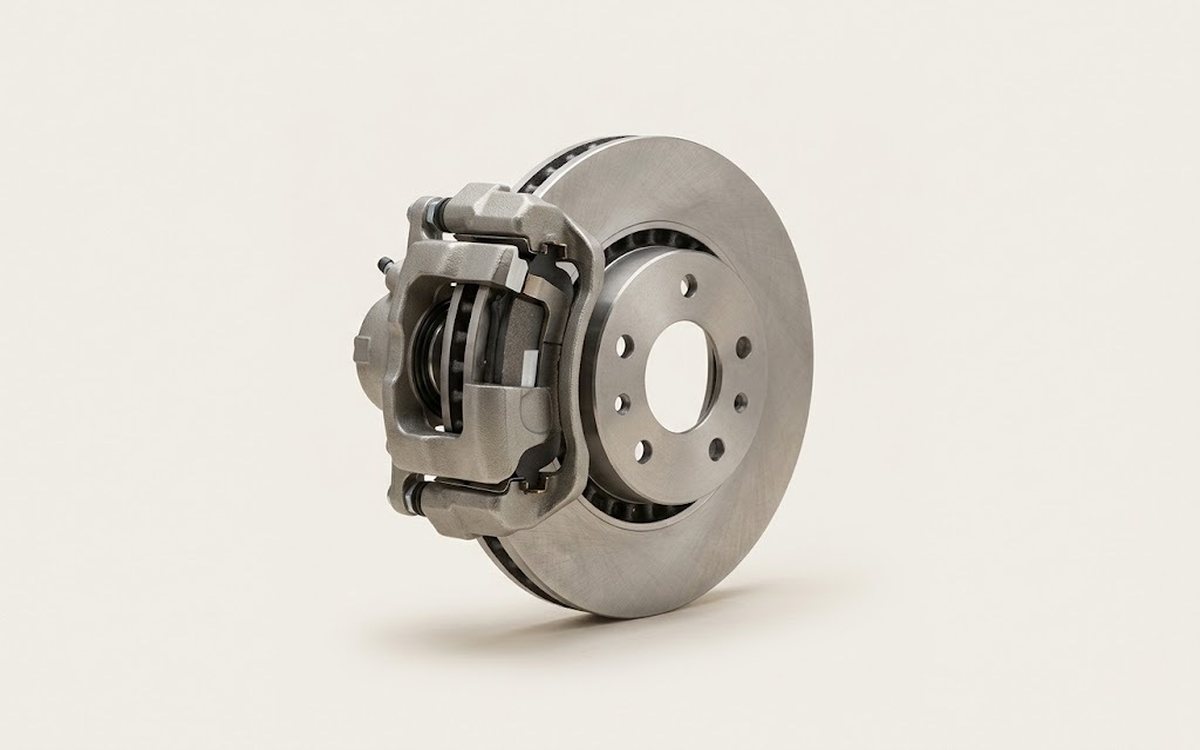 How it works · 3D
How Car Brakes Work
How the part you're working on actually works — in plain English, on a 3D model.
Open in 3D →