Autopapyrus · Nissan Leaf (1st generation)
https://autopapyrus.com/guides/nissan/leaf/front-brake-pad-replacement/
https://autopapyrus.com/guides/nissan/leaf/front-brake-pad-replacement/
Compiled automatically from service literature and owner experience. Specs are for the typical configuration — check them against your exact car before you start.
Nissan Leaf (1st generation): Front Brake Pad Replacement
On the first-generation Nissan Leaf, the front brake pads wear more slowly than on a typical gasoline car because of regenerative braking. The recommended replacement interval is every 50,000-60,000 km or when the remaining friction material is less than 2 mm thick. The job requires no special equipment. It is also simplified because the electronic parking brake acts on the rear drum brakes, not on the front discs.
Part
| № | Part | Genuine part no. | Alternatives |
|---|---|---|---|
| 01 | Nissan front brake pads (interchangeable)set per axle | D1M60-CY70B | Brembo, Akebono, TRW |
Part numbers are from the manufacturer's original catalogue. Check them against your VIN before ordering.
Tools
8- jack and jack stands
- lug wrench
- 14 mm and 17 mm sockets
- ratchet
- C-clamp or piston compressor tool
- wire brush
- WD-40
- copper grease
Step by step
17 steps- Loosen the lug nuts on the front wheel, but do not remove the wheel yet.
- Raise the front of the vehicle with a jack and place a jack stand under the rocker panel (pinch weld).
- Fully remove the lug nuts and take off the wheel.
- Clean the caliper hardware with a wire brush to remove rust and dirt, then treat it with WD-40.
- Remove the lower caliper guide bolt with a 17 mm socket (leave the upper bolt in place).
- Swing the caliper upward, pivoting on the upper bolt like a hinge, and secure it to the suspension spring with wire. Do not let it hang from the brake hose.
- Remove the old pads from the caliper bracket together with the anti-squeal springs (clips).
- Push the caliper piston back in with a C-clamp. This is necessary to fit the new, thicker pads. Watch the brake fluid in the reservoir so it does not overflow.
- Clean the caliper bracket of old grease and corrosion, then apply a thin layer of high-temperature copper grease to the pad seating surfaces and the guide pins.
- Install the new pads in the bracket together with the anti-squeal shims. Pay close attention to orientation: the wear indicator must be at the top of the inner pad.
- Lower the caliper back into position and make sure the pads are seated in the bracket slots.
- Tighten the lower caliper guide bolt to 20-30 N·m (15-22 lb-ft). See the manufacturer's service manual for the exact value.
- Install the wheel and thread the lug nuts on by hand.
- Lower the vehicle to the ground and tighten the lug nuts in a crisscross pattern to 108 N·m (80 lb-ft).
- Repeat the procedure for the other front wheel.
- Pump the brake pedal firmly several times so the caliper pistons press the new pads against the rotors. The pedal should become firm.
- Check the brake fluid level in the reservoir and top it up to the MAX mark if needed (use only DOT 3 or DOT 4 fluid).
Common mistakes and warnings
- Do not use compressed air to clean brake components
- Dust from old pads can be hazardous to your lungs, as older pads may contain asbestos
- Wipe parts with a damp cloth instead
- For the first 200-300 km after replacing the pads, avoid hard braking, because new pads need to bed in to the rotors
- If the pedal sinks to the floor or the brakes do not hold after the job, take the car to a repair shop immediately
- There may be a brake fluid leak or air in the system
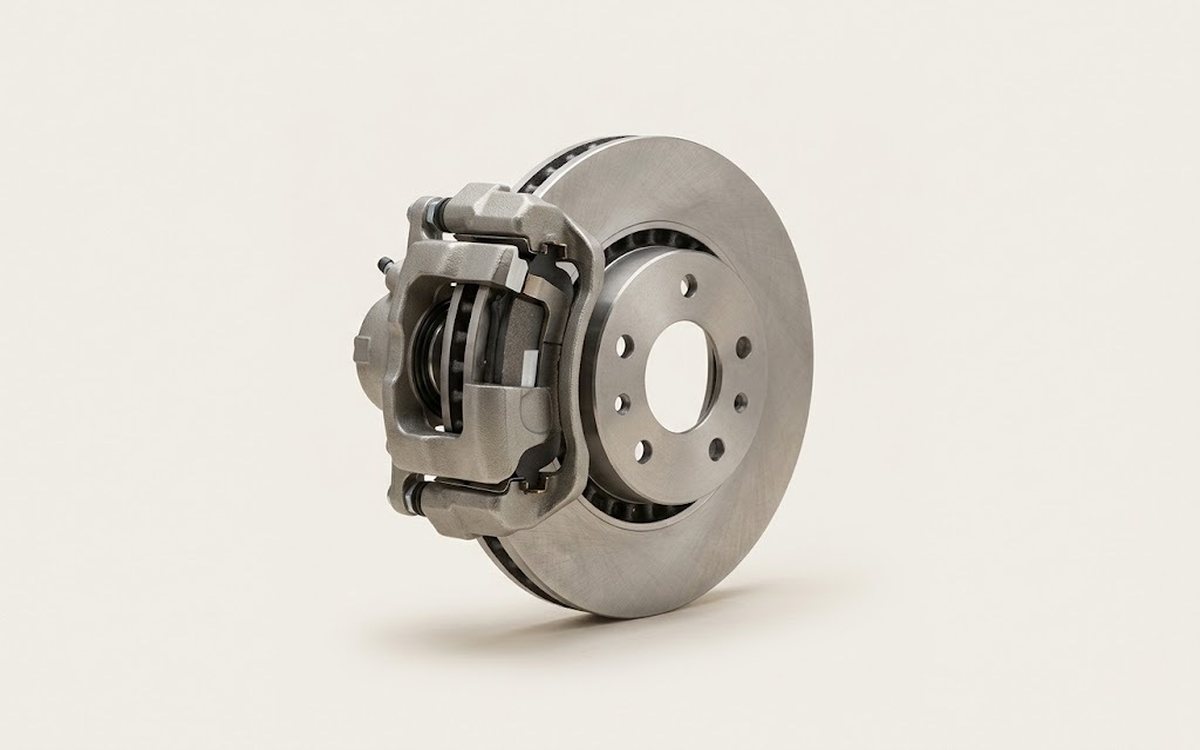 How it works · 3D
How Car Brakes Work
How the part you're working on actually works — in plain English, on a 3D model.
Open in 3D →