Autopapyrus · Toyota Hiace 3.0 Diesel 1KD-FTV (2014)
https://autopapyrus.com/guides/toyota/hi-ace/brake-system-bleeding/
https://autopapyrus.com/guides/toyota/hi-ace/brake-system-bleeding/
Compiled automatically from service literature and owner experience. Specs are for the typical configuration — check them against your exact car before you start.
Toyota Hiace 3.0 Diesel 1KD-FTV (2014): Brake System Bleeding
Bleeding the brake system on the Hiace H200 is required after a fluid change, after brake repairs, or whenever air gets into the system (spongy pedal). The dual-circuit system is bled with two people: one operates the pedal while the other opens the bleeder screws. Be sure to turn the ignition on before you begin to activate the ABS.
Part
| № | Part |
|---|---|
| 01 | DOT 3 brake fluid (Toyota Heavy Duty)1.5-2.0 L (1.6-2.1 qt) |
Tools
5- 10 mm wrench
- clear hose with 6-8 mm inner diameter
- container for old fluid 1-2 L (1.1-2.1 qt)
- jack and lug wrench (if removing the wheels)
- helper
Step by step
10 steps- Park the vehicle on a level surface and apply the parking brake. You can remove the wheels for easier access to the bleeder screws, but it is not required.
- Open the hood and remove the master cylinder reservoir cap. Top up with DOT 3 fluid to the MAX mark.
- Turn the ignition on (do not start the engine). This activates the ABS and opens the valves in the modulator.
- Fit the clear hose onto the bleeder screw of the rear right wheel (the one farthest from the master cylinder) and put the other end in a container with a small amount of clean fluid.
- Your helper presses the brake pedal 3-5 times all the way down and holds it down. Loosen the bleeder screw half a turn with the 10 mm wrench. Fluid with air bubbles will flow into the hose. When the flow stops, tighten the bleeder screw (torque 7-10 N·m (5-7 lb-ft); check the exact value in the manufacturer's specifications). The helper releases the pedal only after the bleeder screw is tightened.
- Repeat step 5 until clean fluid with no air bubbles comes out of the bleeder screw (usually 3-5 cycles). Keep a constant eye on the reservoir level and do not let it drop below MIN, or you will introduce air into the system again.
- Bleed the remaining wheels in this order: rear right → rear left → front right → front left. At each wheel, repeat the procedure until the bubbles disappear.
- After bleeding all four bleeder screws, top up the fluid to MAX and close the reservoir cap. Turn the ignition off.
- Start the engine and press the brake pedal several times. It should feel firm and not sink to the floor. Check that there are no leaks at the bleeder screws.
- Take a test drive at low speed to check braking performance and make sure the vehicle does not pull to one side.
Common mistakes and warnings
- With an empty vehicle, the load-sensing brake force regulator on the rear axle may restrict fluid flow to the rear brakes
- If fluid flows weakly from the rear bleeder screws, load the rear of the vehicle (put 200-300 kg (440-660 lb) of weight in it) or manually lift the regulator lever with a screwdriver while bleeding
- Do not mix different types of fluid
- Replace old DOT 3 only with DOT 3 of the same specification
- Brake fluid is toxic and damages paint, so wear gloves and avoid getting it on the body
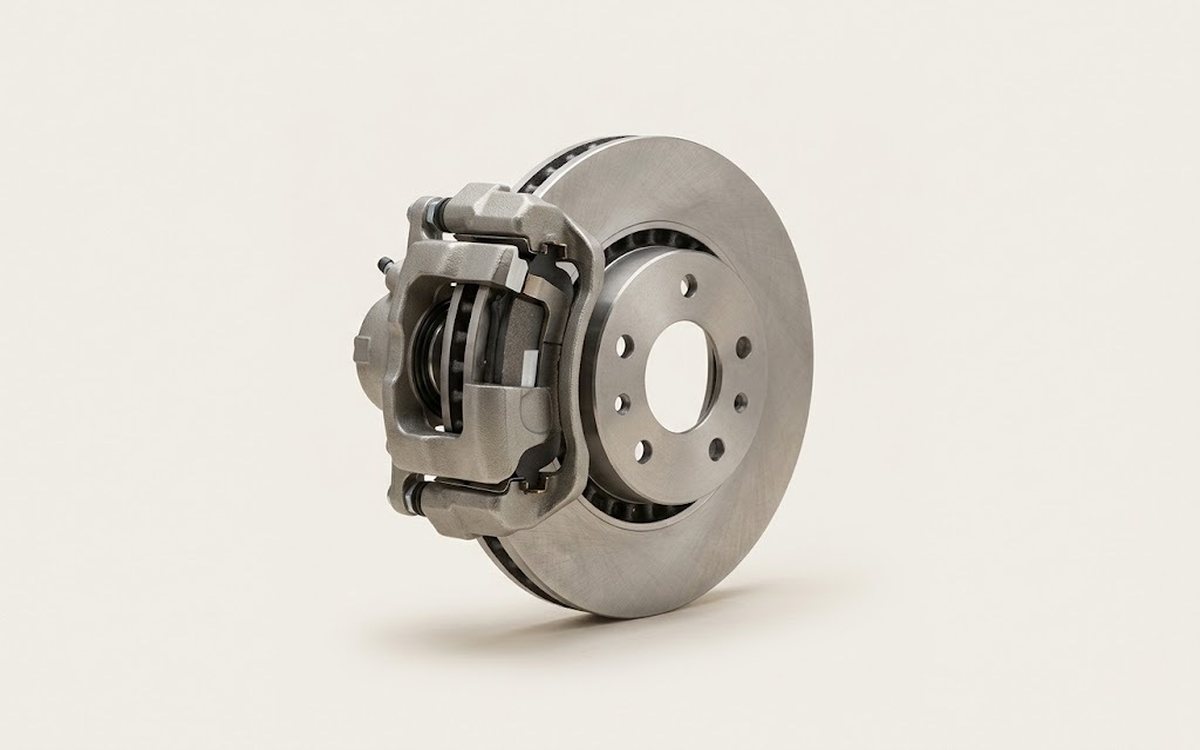 How it works · 3D
How Car Brakes Work
How the part you're working on actually works — in plain English, on a 3D model.
Open in 3D →