Autopapyrus · Subaru Impreza WRX (2nd generation, GD/GG)
https://autopapyrus.com/guides/subaru/impreza/brake-fluid-replacement/
https://autopapyrus.com/guides/subaru/impreza/brake-fluid-replacement/
Compiled automatically from service literature and owner experience. Specs are for the typical configuration — check them against your exact car before you start.
Subaru Impreza WRX (2nd generation, GD/GG): Brake Fluid Replacement
Brake fluid is hygroscopic (it absorbs moisture), so it should be replaced about every 2 years regardless of mileage. This is especially important for the turbocharged WRX because of the higher load on the brakes. The job is done by bleeding the brakes in sequence: first remove the old fluid from the reservoir, then flush it out of each brake circuit.
Part
| № | Part |
|---|---|
| 01 | DOT 4 brake fluid (DOT 3 acceptable)about 1 L (1.1 qt) |
Tools
8- jack and jack stands
- lug wrench
- 10 mm open-end or box-end wrench for the bleeder screws
- clear hose
- drain container
- helper (or a one-way check valve for one-person bleeding)
- syringe or turkey baster for emptying the reservoir
- clean rags
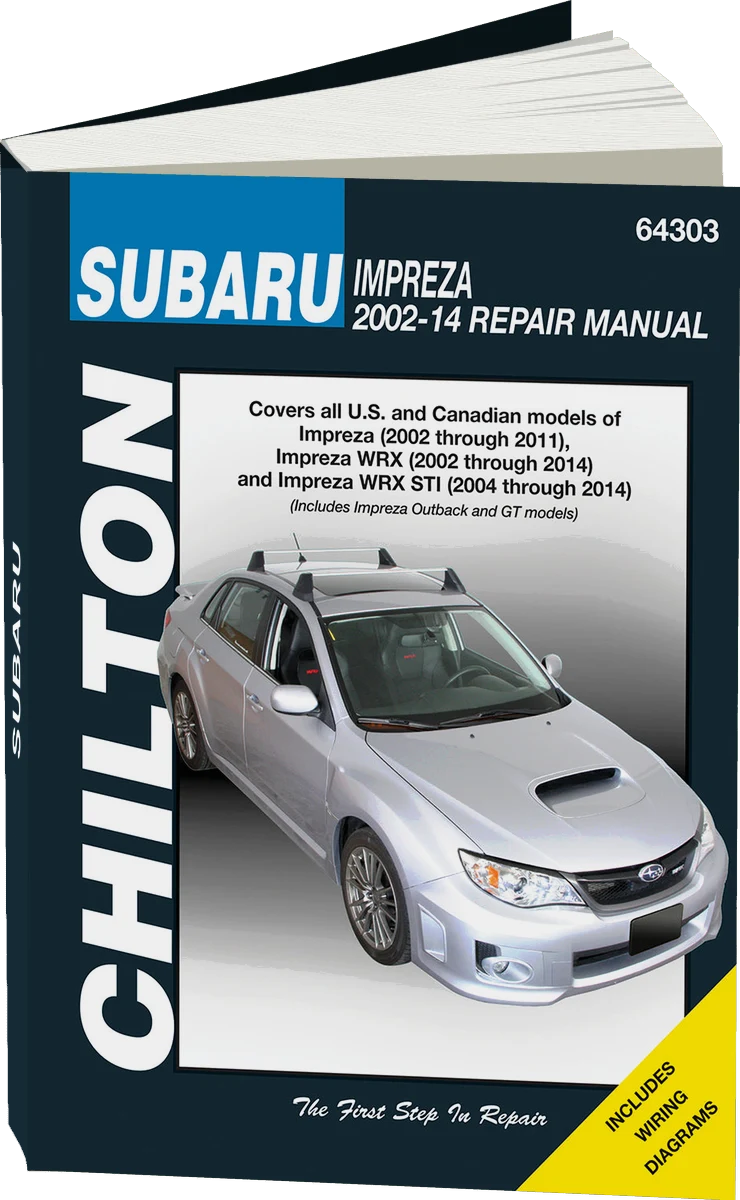 There's a full repair manual for this car
Every system, wiring diagrams and torque specs — not just this job. Chilton and 9 more.
See manuals →
Step by step
10 steps- Park the car on a level surface, apply the parking brake, and chock the wheels that stay on the ground. Loosen the lug nuts, raise the car, remove all four wheels, and support the car on jack stands.
- Open the hood and wipe the master cylinder cap so dirt does not get inside. Open the reservoir and use a syringe or baster to remove the old, dark fluid down to the minimum level. Do not empty the reservoir completely, to avoid drawing air into the master cylinder.
- Top up with fresh fluid to the MAX mark. Throughout the entire bleeding procedure, make sure the level never drops below MIN, and top up as needed.
- Locate the bleeder screws on the calipers (under a rubber cap, 10 mm wrench). The bleeding order is from the wheel farthest from the master cylinder to the closest: rear right, rear left, front right, front left. For right-hand-drive cars, check the brake circuit diagram for the order; the principle is the same: farthest to closest.
- Attach the clear hose to the bleeder screw at the first wheel, and put the other end in a container with a small amount of fluid (the end must stay below the fluid level so air is not drawn back in).
- Have your helper press the brake pedal smoothly several times and then hold it down. While it is held down, open the bleeder screw half a turn and let the fluid flow out, then close the screw before the helper releases the pedal. Repeat until clean, light-colored fluid with no air bubbles comes out of the hose. This is usually 200-300 ml (0.2-0.3 qt) per wheel.
- Tighten the bleeder screw to about 7-10 N·m (5-7 lb-ft) (do not overtighten, as the threads in the aluminum caliper strip easily), install the cap, and move on to the next wheel in the order given. Remember to top up the reservoir after each wheel.
- After the last wheel, bring the reservoir level to MAX and close the cap. Press the pedal several times: it should feel firm and not sink to the floor. If the pedal is soft, repeat the bleeding, as air remains in the system.
- Install the wheels, lower the car, and tighten the lug nuts in a crisscross pattern to about 88 N·m (65 lb-ft). Check the fluid level in the reservoir once more.
- Check for leaks at the bleeder screws and around the wheels. Take a test drive at low speed with several brake applications, and make sure the pedal does not sink and the brake warning light is off.
Common mistakes and warnings
- Brake fluid damages the paint on the body, so rinse off any splashes with water immediately
- Dispose of used fluid separately and do not pour it down the drain
- Brakes are a safety system: if the pedal stays soft after repeated bleeding or there are leaks, do not drive the car, and take it to a repair shop if you lack experience
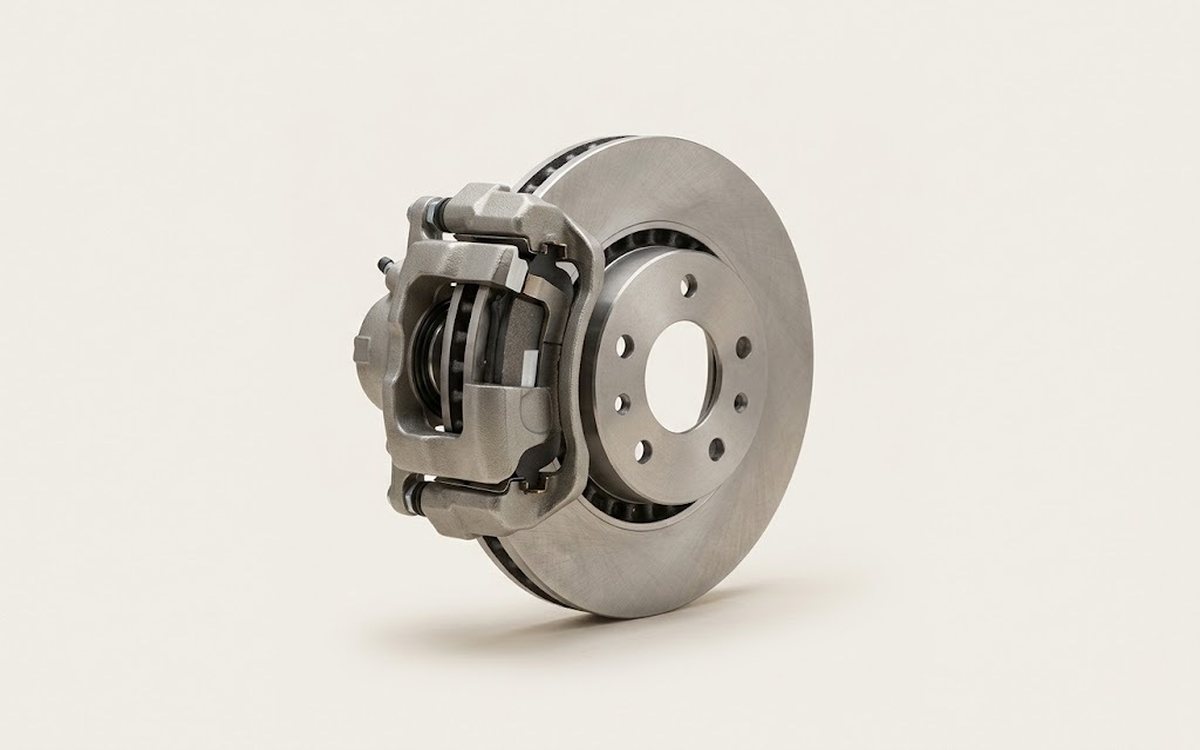 How it works · 3D
How Car Brakes Work
How the part you're working on actually works — in plain English, on a 3D model.
Open in 3D →