Autopapyrus · Kia Ceed (1st generation, ED)
https://autopapyrus.com/guides/kia/ceed/rear-control-arm-bushing-replacement/
https://autopapyrus.com/guides/kia/ceed/rear-control-arm-bushing-replacement/
Compiled automatically from service literature and owner experience. Specs are for the typical configuration — check them against your exact car before you start.
Kia Ceed (1st generation, ED): Rear Control Arm Bushing Replacement
The rear suspension of the first-generation Kia Ceed is an independent multi-link design with bushings pressed tightly into the arm eyes. Typical service life is 80,000-120,000 km. Replacement requires pressing the old bushings out with a hydraulic press. Attempts with a vise or makeshift tools usually end with a broken tool.
Parts
5| № | Part | Alternatives |
|---|---|---|
| 01 | Lower lateral arm bushing4 pcs | CTR CVKK26 |
| 02 | Front trailing arm bushing2 pcs | CTR CVKH67 |
| 03 | Inner lower arm bushing2 pcs | CTR CVKH128 |
| 04 | Rear knuckle bushing2 pcs | CTR CVKH130 |
| 05 | Floating bushing2 pcs |
Tools
6- lift or jack stands
- wrench and socket set 14-19 mm
- hydraulic press or bushing remover
- torque wrench
- WD-40 or equivalent
- wire brush
 There's a full repair manual for this car
Every system, wiring diagrams and torque specs — not just this job. Haynes AutoFix (online).
See manuals →
Step by step
10 steps- Raise the rear of the car on a lift or set it on jack stands, then remove the rear wheels.
- Remove the inner fender liner. The ABS sensor connector is hidden behind it, so disconnect it.
- Remove the bolts that secure the arms to the knuckle and to the subframe (17-19 mm wrenches). The bolts are usually in good condition and don't need replacing, even at 140,000 km, but treat the threads with lubricant before reassembly.
- Remove the lateral arms and the trailing arm. An angled wrench attachment makes it easier to reach the rear bolt of the trailing arm.
- Press the old bushings out on a hydraulic press. They sit very tightly, and there may be a loud bang when the fit breaks loose. An ordinary vise can't handle it and breaks in half.
- Press in the new bushings on the press, keeping the correct orientation (some versions have an alignment mark).
- Install the arms on the car and start all the bolts by hand, but do NOT tighten them.
- Lower the car onto its wheels (or place a support under the hub that simulates the suspension load in its normal working position).
- Tighten all the arm bolts with a torque wrench. Shock absorber-to-knuckle bolt: 140-160 N·m (103-118 lb-ft). Arm-to-subframe and arm-to-knuckle bolts: 100-120 N·m (74-89 lb-ft). Check the manufacturer's specifications for the exact value for each fastener.
- After reassembly, be sure to have the rear axle alignment checked and adjusted on an alignment rack.
Common mistakes and warnings
- Tightening the arm bolts with the suspension hanging causes the rubber elements of the bushings to twist and wear out prematurely, so always tighten them under load
- If you replace only some of the bushings, check the condition of the rest
- If the car has gone over 100,000 km, it makes more sense to replace the whole set at once
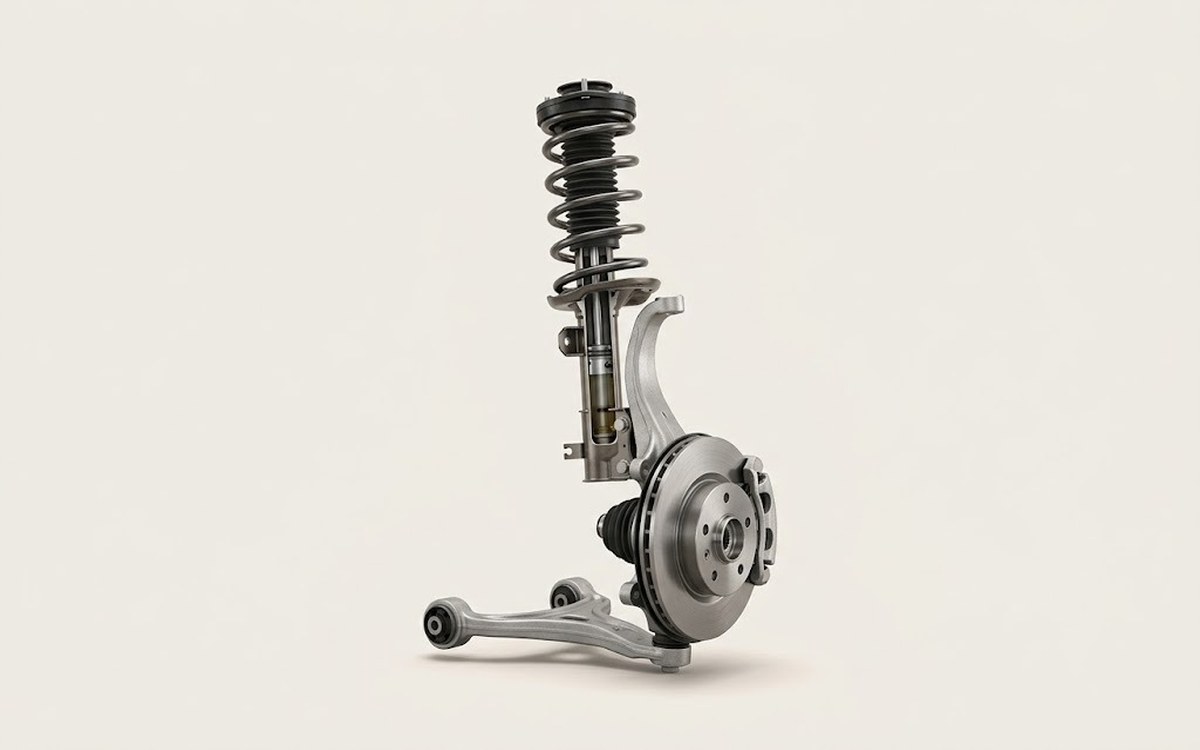 How it works · 3D
How Car Suspension Works
How the part you're working on actually works — in plain English, on a 3D model.
Open in 3D →