Autopapyrus · Hyundai Solaris (Accent) 1.6 G4FC (2013)
https://autopapyrus.com/guides/hyundai/solaris/front-brake-rotor-replacement/
https://autopapyrus.com/guides/hyundai/solaris/front-brake-rotor-replacement/
Compiled automatically from service literature and owner experience. Specs are for the typical configuration — check them against your exact car before you start.
Hyundai Solaris (Accent) 1.6 G4FC (2013): Front Brake Rotor Replacement
On the first-generation Solaris (2010-2017), the 266 mm front brake rotors usually need replacing every 60,000-80,000 km, depending on driving style. The procedure is standard for a modern front-wheel-drive car: remove the wheel, caliper and rotor, then install a new rotor. It is recommended to inspect the front brake pads at the same time and replace them if necessary.
Parts
3| № | Part | Genuine part no. |
|---|---|---|
| 01 | Front brake rotor Hyundai, diameter 266 mm, thickness 20 mm (new), minimum 18 mmleft | |
| 02 | Front brake rotor Hyundai, diameter 266 mm, thickness 20 mm (new), minimum 18 mmright | |
| 03 | Front brake pads Hyundai | 58101-4LA00 |
Part numbers are from the manufacturer's original catalogue. Check them against your VIN before ordering.
Tools
7- Inspection pit or lift
- lug wrench
- 12/14/17 mm wrenches
- brake rotor puller (or universal puller)
- pry bar
- container for brake fluid
- new brake pads (recommended to replace at the same time)
Step by step
12 steps- Raise the front of the car on a lift or over a pit and remove the front wheel (lug wrench + 17 mm wrench).
- Remove the two caliper mounting bolts (upper and lower) with the 12 mm and 14 mm wrenches. The tightening torque is usually 50-70 N·m (37-52 lb-ft). When reassembling, tighten with a torque wrench to the specification.
- Move the caliper aside (you can hang it on a wire) without disconnecting the brake hose.
- Remove the rotor retaining bolt(s) with the 17 mm wrench (usually 2-3 bolts, located in the center of the rotor). Some bolts may be seized by rust. Apply a penetrating agent such as WD-40 or kerosene 15-20 minutes before removal.
- If the rotor does not come off by hand, use a brake rotor puller or a universal puller (thread the bolts into the threaded holes around the rotor and loosen evenly).
- Remove the old rotor and inspect the hub and mounting bolts. Wipe the mating surface with a clean rag and remove any rust with fine sandpaper (grade 0 or 400-600 grit).
- Install the new rotor and tighten the mounting bolts in a crisscross pattern with the 17 mm wrench to 70-90 N·m (52-66 lb-ft) (check the exact value in the factory service manual for the platform). Do not tighten fully in one go. Tighten at least twice in a crisscross pattern.
- Reinstall the caliper and tighten the caliper mounting bolts with the 12 mm and 14 mm wrenches. Caliper tightening torque is 50-70 N·m (37-52 lb-ft).
- Check the brake pad thickness. If the friction material is less than 4-5 mm thick, replace the pads (open the caliper, remove the old pads, install the new ones, and make sure the caliper piston is pushed back in, or use a piston compression tool).
- Install the wheel and tighten the lug nuts crisscross with the lug wrench.
- Lower the car to the ground and perform the final tightening of the lug nuts to 100-120 N·m (74-89 lb-ft) (per the Hyundai specification).
- After reassembly, pump the brake pedal firmly several times so the pads seat against the rotors and the caliper piston settles in position. For the first 100-200 km, drive carefully and get a feel for the brakes at different speeds.
Common mistakes and warnings
- If you find brake fluid leaking from the caliper during disassembly, it must be replaced
- The brake system is critical for safety
- If you are not confident in your skills, or the rotors show uneven wear (which may indicate a caliper problem), take the car to a repair shop
- After replacing the rotor, do not raise the pressure in the hydraulic system above normal
- This can cause the caliper to seize
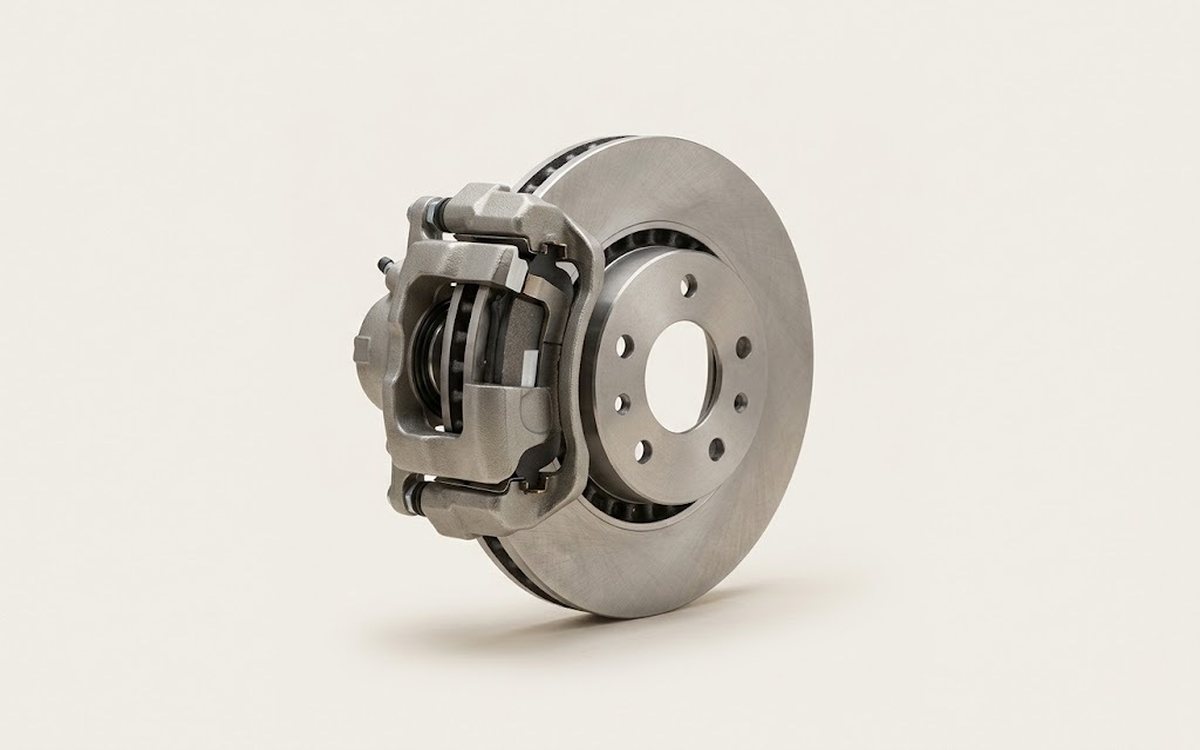 How it works · 3D
How Car Brakes Work
How the part you're working on actually works — in plain English, on a 3D model.
Open in 3D →