Autopapyrus · Toyota RAV4 (XA50)
https://autopapyrus.com/guides/toyota/rav4/rear-suspension-arm-bushing-replacement/
https://autopapyrus.com/guides/toyota/rav4/rear-suspension-arm-bushing-replacement/
Compiled automatically from service literature and owner experience. Specs are for the typical configuration — check them against your exact car before you start.
Toyota RAV4 (XA50): Rear Suspension Arm Bushing Replacement
The rear suspension of the RAV4 XA50 uses lower lateral arms with rubber-metal bushings. Wear shows up as clunking over bumps, increased wheel play, and uneven tire wear. Replacement requires pressing out the old bushings and pressing in the new ones, using a press or a dedicated bushing puller tool.
Part
| № | Part | Alternatives |
|---|---|---|
| 01 | Rear suspension arm bushings Toyotaset | Febest TAB-449, CTR CVT-97, Masuma RU-479 |
Tools
8- jack
- jack stands
- 17/19/22 mm sockets
- torque wrench
- hydraulic press (20 ton) or bushing puller/remover tool
- pry bar
- WD-40
- wire brush
 There's a full repair manual for this car
Every system, wiring diagrams and torque specs — not just this job. Haynes and 12 more.
See manuals →
Step by step
15 steps- Raise the vehicle on a lift, or lift the rear with a jack and support it on jack stands. Remove the rear wheel on the side you are working on.
- Apply WD-40 to the arm mounting bolts and let it soak into the threads for 10-15 minutes.
- Remove the nut securing the arm to the steering knuckle (rear end of the arm) with a 19 mm wrench. Tightening torque on assembly: 90 N·m (66 lb-ft).
- Remove the bolt securing the arm to the body (front end of the arm) with a 22 mm wrench. Tightening torque on assembly: 90 N·m (66 lb-ft).
- Remove the arm from its mounting points. If the arm is stuck, use a pry bar to work it loose, tapping carefully with a hammer through a wooden spacer.
- Clean the arm of dirt and corrosion with a wire brush. Inspect the mounting areas for cracks or deformation.
- Place the arm in a hydraulic press (20 tons minimum) or use a bushing puller. Press the old bushing out of the arm. An alternative method is burning out the rubber part with a torch and then removing the metal sleeve with a chisel (this risks damaging the arm, so use extreme caution).
- Wipe the arm's bushing bore with a clean rag, then coat the inner surface with a thin layer of silicone grease or soapy water to make pressing in easier.
- Position the new bushing in the bore. Important: the bushing is directional. The narrower flange must face the center of the arm. Check the orientation before pressing.
- Press the bushing in evenly until it seats fully. Force must be applied to the outer metal sleeve of the bushing, not to the rubber part. Use a driver of the appropriate diameter (or a set of large sockets).
- Reinstall the arm on the vehicle and thread in the bolts securing it to the body and the steering knuckle, but do NOT fully tighten them yet.
- Install the wheel and lower the vehicle to the ground. Bounce the body a few times so the suspension settles into its normal working position.
- Fully tighten the arm mounting bolts with a torque wrench to 90 N·m (66 lb-ft) for both mounts. CRITICALLY IMPORTANT: tighten only with the suspension loaded (vehicle resting on its wheels). If you tighten them with the suspension hanging, the bushing will be twisted in service and will tear quickly.
- Repeat the procedure for the other arm (if required).
- After replacement, a rear wheel alignment is recommended, since replacing the bushings can affect wheel alignment angles.
Common mistakes and warnings
- Rubber-metal bushings are designed to flex, not to rotate
- Final tightening of the mounting bolts MUST be done with the suspension loaded (vehicle on the ground), otherwise the bushings will quickly tear from twisting
- If you don't have a hydraulic press or a bushing puller, take the vehicle to a repair shop, because improvised tools (a bolt and nut with sockets) can damage the arm or the bushing if used incorrectly
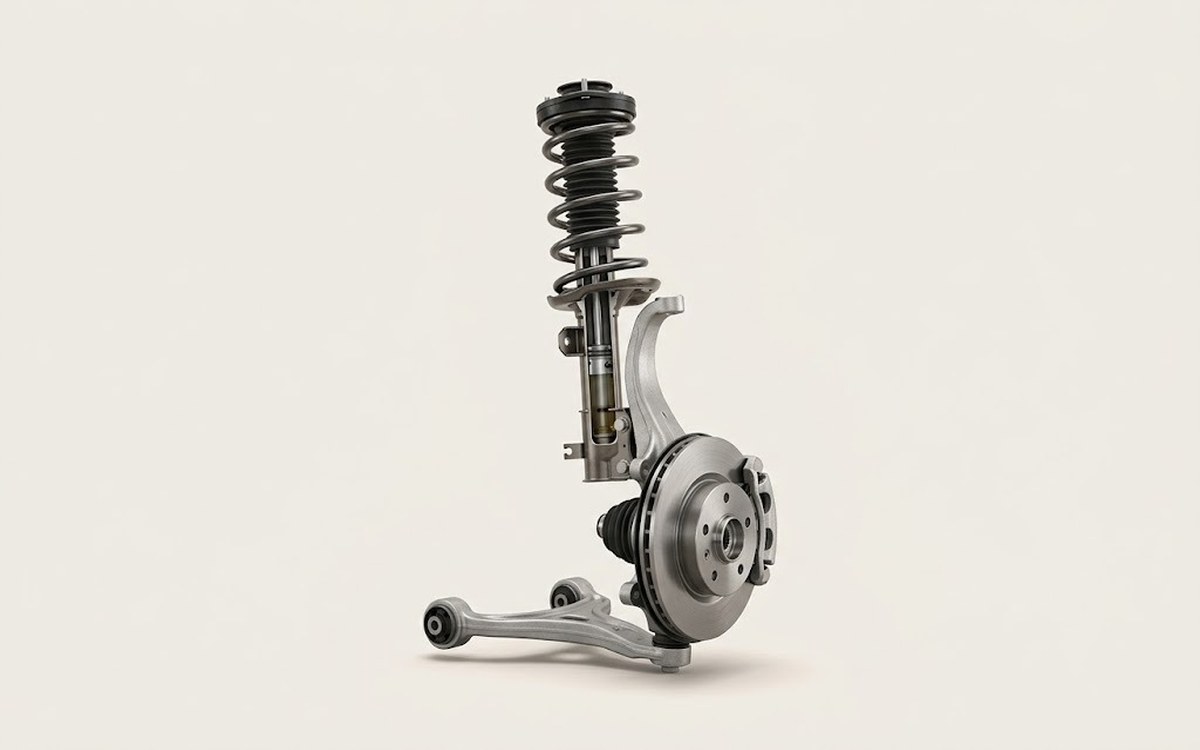 How it works · 3D
How Car Suspension Works
How the part you're working on actually works — in plain English, on a 3D model.
Open in 3D →