Autopapyrus · Lada Iskra
https://autopapyrus.com/guides/lada/iskra/rear-shock-absorber-replacement/
https://autopapyrus.com/guides/lada/iskra/rear-shock-absorber-replacement/
Compiled automatically from service literature and owner experience. Specs are for the typical configuration — check them against your exact car before you start.
Lada Iskra: Rear Shock Absorber Replacement
The Lada Iskra rear suspension is a semi-independent trailing-arm type with coil springs and hydraulic telescopic shock absorbers. The shocks are modified Vesta units with a model-specific rod stroke of 182 mm. Replacement does not require removing the springs, but the suspension arm must be supported during removal.
Part
| № | Part | Alternatives |
|---|---|---|
| 01 | Rear shock absorber2 pcs. | Trialli |
Tools
7- jack
- jack stands
- lug wrench
- 16 mm and 21 mm sockets
- ratchet
- torque wrench
- pry bar or a second jack to support the suspension arm
Step by step
11 steps- Raise the rear of the vehicle with a jack, set it on jack stands under the rocker panels or the axle beam, and remove the rear wheel.
- Place a transmission jack or a second jack under the rear suspension arm and raise the arm slightly to unload the shock absorber and keep the beam from dropping when the bolt is removed.
- Remove the lower bolt securing the shock absorber to the suspension arm with a 21 mm socket (installation torque 90-120 N·m (66-89 lb-ft)).
- Remove the two nuts securing the shock's upper mount to the body in the trunk with a 16 mm socket (installation torque 53-71 N·m (39-52 lb-ft)).
- Pull the shock absorber out downward together with the upper mount and bump stop.
- Before installing the new shock absorber, pump it by hand 3-5 times with the rod pointing down to bleed air out of the working chamber.
- Fit the bump stop with its dust boot and the upper mount onto the new shock absorber, and thread on the rod nut on the M9x1 thread (tightening torque 30-40 N·m (22-30 lb-ft)).
- Insert the shock absorber into its seat and secure the upper mount with the two nuts in the trunk (torque 53-71 N·m (39-52 lb-ft)).
- Install the lower bolt securing the shock to the arm; start it by hand but do not fully tighten it yet.
- Install the wheel, lower the vehicle to the ground, and tighten the shock's lower bolt to 90-120 N·m (66-89 lb-ft) with the suspension loaded.
- Repeat the procedure for the second shock absorber on the other side.
Common mistakes and warnings
- Tighten the lower shock absorber bolt only with the vehicle lowered and the suspension under load, otherwise the arm bushing will wear out prematurely
- Replace shock absorbers only in pairs to keep the suspension balanced
- If you find oil leaks or a loss of damping, replacement is mandatory
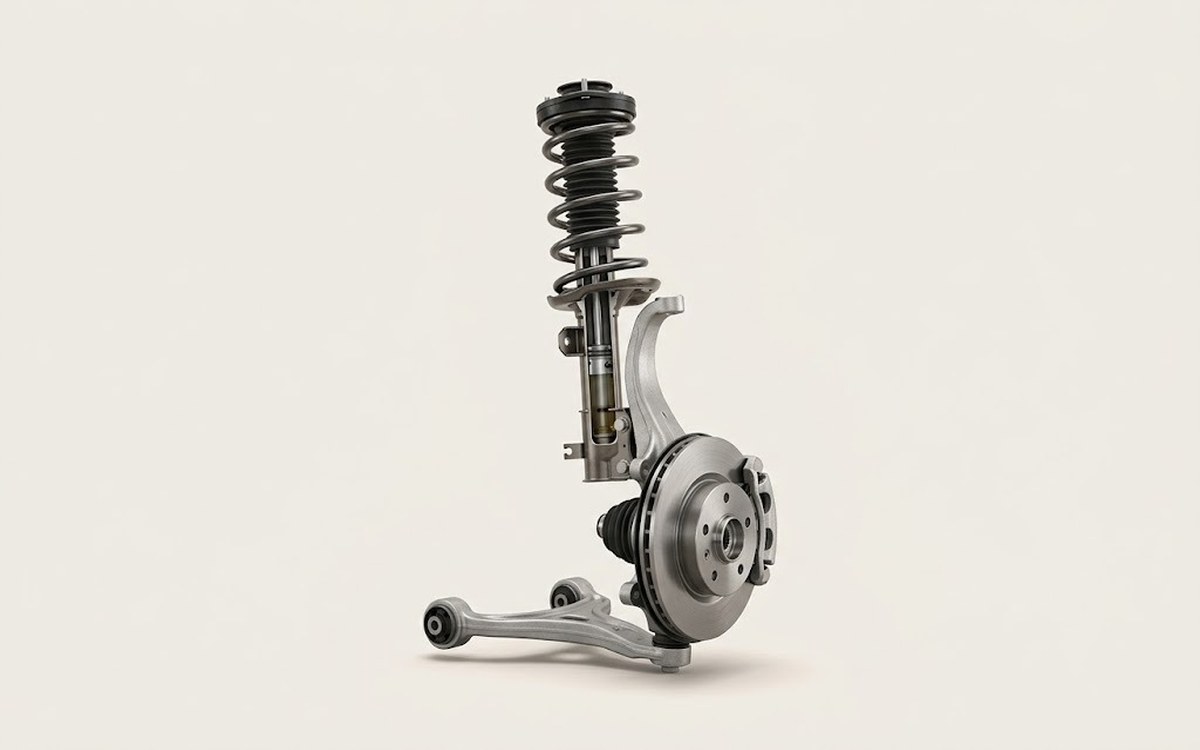 How it works · 3D
How Car Suspension Works
How the part you're working on actually works — in plain English, on a 3D model.
Open in 3D →