Autopapyrus · Isuzu Trooper (1st Generation)
https://autopapyrus.com/guides/isuzu/trooper/ignition-coil-replacement/
https://autopapyrus.com/guides/isuzu/trooper/ignition-coil-replacement/
Compiled automatically from service literature and owner experience. Specs are for the typical configuration — check them against your exact car before you start.
Isuzu Trooper (1st Generation): Ignition Coil Replacement
On a 1989 first-generation Isuzu Trooper, the ignition coil is part of the breakerless distributor-based ignition system. Replace it if there is no spark or the engine misfires. The procedure is simple: two mounting points, two power terminals and one high-voltage wire.
Part
| № | Part | Alternatives |
|---|---|---|
| 01 | Ignition coil | NGK, Accel, Carquest |
Tools
2- 10-12 mm socket or box wrench
- multimeter (for testing)
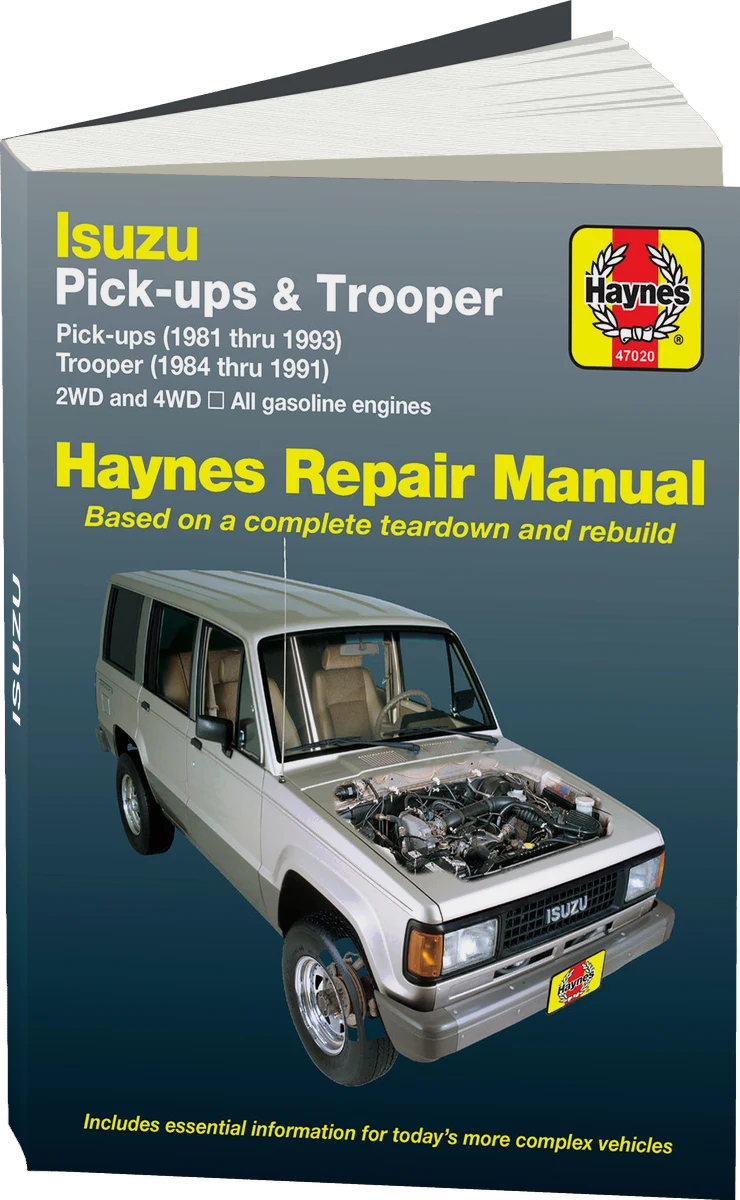 There's a full repair manual for this car
Every system, wiring diagrams and torque specs — not just this job. Haynes and 1 more.
See manuals →
Step by step
10 steps- Disconnect the negative terminal from the battery.
- Label the high-voltage wire running from the coil to the distributor (the thick center wire).
- Disconnect the coil power connector (two terminals: positive and negative).
- Disconnect the high-voltage wire from the coil's center terminal.
- Remove the two mounting screws or bolts. The coil is usually mounted on a bracket near the distributor or on the valve cover.
- Remove the old coil.
- Install the new coil and tighten the fasteners to 20-27 N·m (15-20 lb-ft). This is an approximate value; check the manufacturer's service manual for the exact specification.
- Reconnect the power connector, observing polarity: positive to positive, negative to negative.
- Connect the high-voltage wire to the coil's center terminal.
- Reconnect the negative battery terminal, start the engine and check that it runs properly.
Common mistakes and warnings
- Before installing the new coil, you can test the old one with a multimeter
- The primary winding resistance (between the positive and negative terminals) should be 1.1-1.5 ohms
- If the reading differs significantly or the circuit is open, the coil is faulty
- Do not mix up the positive and negative terminals when connecting the coil, as this will damage it