Autopapyrus · Hyundai Solaris (Accent) (1st generation)
https://autopapyrus.com/guides/hyundai/solaris/front-strut-replacement-rb-2013/
https://autopapyrus.com/guides/hyundai/solaris/front-strut-replacement-rb-2013/
Compiled automatically from service literature and owner experience. Specs are for the typical configuration — check them against your exact car before you start.
Hyundai Solaris (Accent) (1st generation): Front Strut Replacement
The front struts on the Hyundai Solaris (Accent) should be replaced every 80-120 thousand km (50,000-75,000 miles) or when you notice knocking noises, oil leaks or a sagging body. The job requires a spring compressor and correct tightening torques. Struts are replaced in pairs to keep the same characteristics on both sides.
Parts
5| № | Part | Genuine part no. | Alternatives |
|---|---|---|---|
| 01 | Front left strut | 54650-H5000 | Mando, Kayaba, Sachs, Monroe |
| 54650-H5100 | |||
| 02 | Front right strut | 54660-H5000 | Mando, Kayaba, Sachs, Monroe |
| 54660-H5100 | |||
| 03 | Strut mount with bearing | Mando, Kayaba, Sachs, Monroe | |
| 04 | Bump stopsrecommended to replace | ||
| 05 | Dust bootsrecommended to replace |
Part numbers are from the manufacturer's original catalogue. Check them against your VIN before ordering.
Tools
7- jack
- jack stands
- spring compressor
- socket set (17, 19, 22 mm)
- wrenches (14, 17, 19 mm)
- pry bar
- torque wrench
Step by step
15 steps- Raise the front of the vehicle with a jack, secure it on solid jack stands, and remove the front wheel.
- Loosen the nut securing the sway bar link to the strut with a 14 mm wrench (tightening torque on assembly: 35-45 N·m (26-33 lb-ft)).
- Disconnect the ABS sensor connector and pull the wire out of the holders on the strut.
- Loosen, but do not fully remove, the two bolts securing the strut to the steering knuckle (17 mm socket).
- In the engine bay, remove the three nuts of the upper strut mount (14 mm wrench, tightening torque on assembly: 20-30 N·m (15-22 lb-ft)).
- While supporting the strut from below, fully remove the two lower bolts and take out the strut together with the spring.
- Place the strut in the spring compressor and compress the spring until the load is removed from the upper mount.
- Hold the strut rod with a 7 mm wrench (on the flats) and remove the rod nut with a 19 mm wrench.
- Remove the upper mount, bump stop, dust boot and spring. Inspect all components and replace worn ones (mount with bearing, bump stop, dust boot).
- Assemble the new strut in reverse order: spring with its coils seated correctly (pigtail end down), bump stop, mount. Tighten the rod nut to 60-70 N·m (44-52 lb-ft).
- Remove the strut from the compressor and install it on the vehicle. First start the three upper nuts by hand, then the two lower bolts to the steering knuckle.
- Tighten the lower bolts to 75-90 N·m (55-66 lb-ft) and the upper nuts to 20-30 N·m (15-22 lb-ft).
- Reconnect the sway bar link and tighten the nut to 35-45 N·m (26-33 lb-ft). Secure the ABS wire in the holders.
- Install the wheel and tighten the wheel bolts to 88-108 N·m (65-80 lb-ft). Repeat the procedure for the other strut.
- After the replacement, always have a wheel alignment done on an alignment rack.
Common mistakes and warnings
- Do not disassemble the strut without a spring compressor
- A loaded spring can cause serious injury
- If you replace only one strut, the suspension characteristics will differ between the left and right sides, which will worsen handling
- Always replace struts in pairs
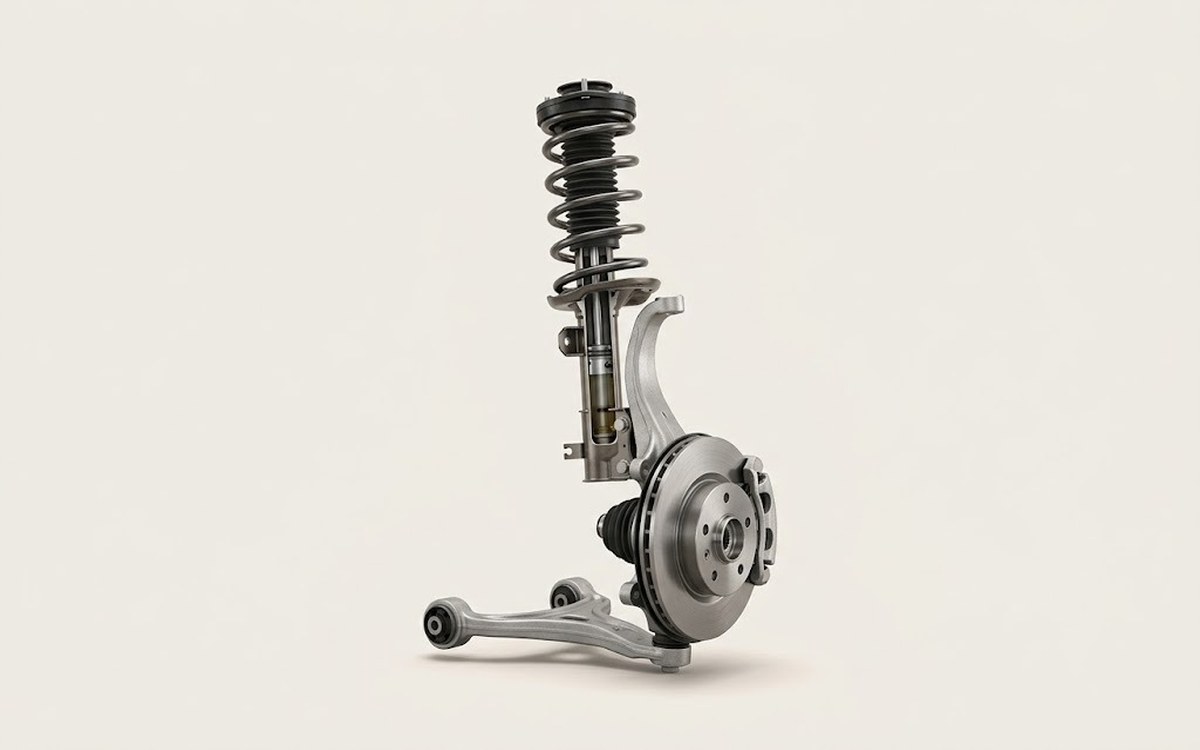 How it works · 3D
How Car Suspension Works
How the part you're working on actually works — in plain English, on a 3D model.
Open in 3D →